Top 5 Reasons Why Solar Street Lights Are the Future of Outdoor Lighting
As Australia continues to lead in sustainable development and green
In recent years, solar flood lights have gained significant popularity due to their eco-friendly nature and cost-effectiveness. These lighting solutions offer an ideal way to illuminate outdoor spaces without the complexities associated with wiring or electricity costs.
This guide will provide comprehensive instructions on how to effectively install solar flood lights in your yard or garden.
The first step to installing solar flood lights is to choose the right spot. Look for areas that get full sun during the day so your solar lights can charge properly.
Areas near pathways, driveways or dark corners of your yard will benefit from the extra light. Don’t put the lights under trees or structures that will cast shadows and block the sun.
For additional information about where to place your solar flood lights, visit this blog.
You won’t need many tools to install solar flood lights. Here’s a quick list:
Solar flood light kit
Shovel or post hole digger (if needed)
Level (to level)
Measuring tape
Optional: ladder (for high places)
Make sure you have everything before you start so it’s easy.
Now you’ve chosen the spot for your solar flood lights, it’s time to clear the ground. If you’re mounting the lights on a post or wall make sure the surface is clean and level.
For ground mounted lights use a shovel to dig a small hole for the light base, deep enough to secure the light firmly. A level will come in handy to make sure the light is straight.
Follow the manufacturer’s instructions to assemble your solar flood lights. Most are simple and require minimal assembly.
Once assembled, position the lights in the holes or attach to the wall or post. Make sure they are secure so they can withstand wind and weather.
If your solar flood lights have a separate solar panel make sure it’s facing direct sun. You may need to mount it on a wall, fence or pole depending on the design. Look for a spot where it won’t be obstructed by trees or buildings to get maximum sun exposure.
Now everything is in place, it’s time to test your solar flood lights. Most have built in sensors that turn the lights on at dusk and off at dawn. Wait until night time to see how well they light up the area. If the light is too dim, reposition the solar panel or trim any nearby obstructions.
To keep your solar flood lights working well, regular maintenance is important. Clean the solar panels every now and then to remove dust, dirt or debris that can block sun exposure. Check the batteries once a year to see if they need replacing and make sure the light fixtures are clear of obstructions.
So there you have it, installing solar flood lights is a great way to add safety and style to your outdoor spaces and be green. Now get your tools and find your spot and let those solar flood lights glow!
Kick off your project by browsing our solar lighting products or contacting us for more information

As Australia continues to lead in sustainable development and green

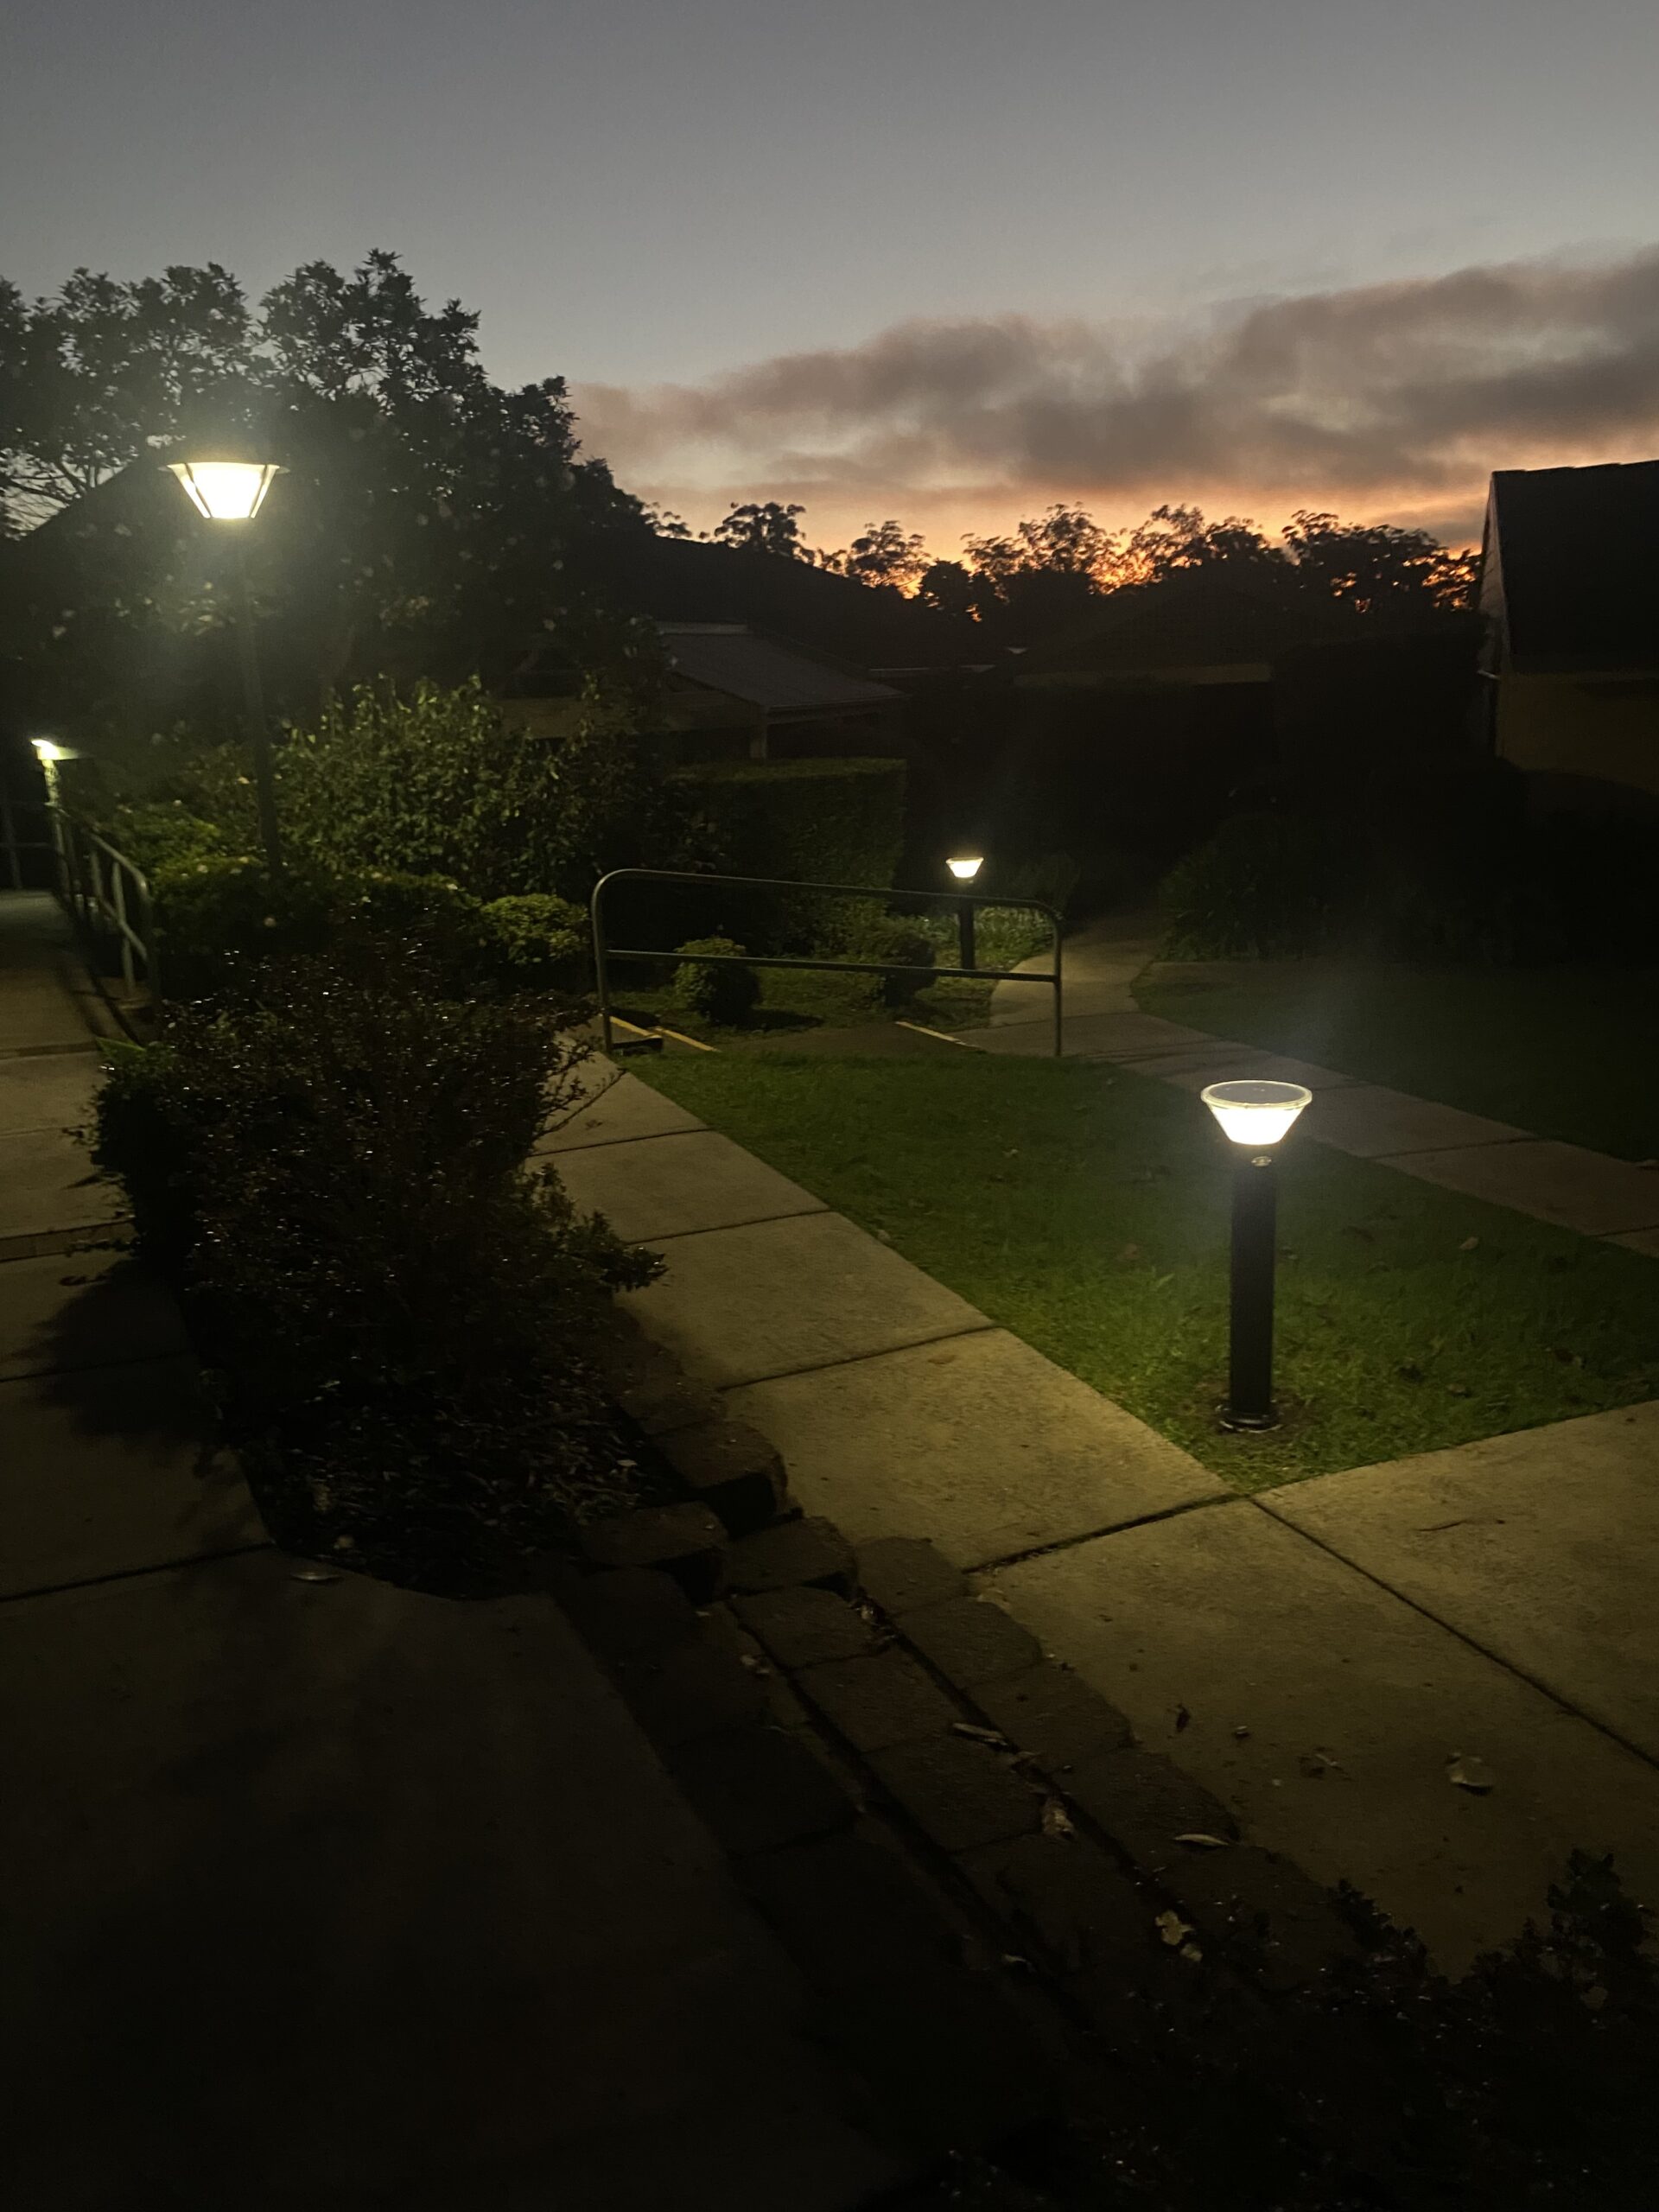
Solar bollard lights are an excellent addition to any garden

Are one of the most popular ways to set up

Solar Lighting Designs
22 , 5 Rai Drive
Crestmead QLD
4132
Solar Lighting Designs
Unit 1, 14 Stennett Road
Ingleburn NSW
2565
Solar Lighting Designs
2A Norlin Street,
Kewdale WA,
6105
SLD acknowledges and pays respect to the past, present and emerging Traditional Custodians and Elders of this nation and the continuation of cultural, spiritual and educational practices of Aboriginal and Torres Strait Islander peoples .

Solar Lighting Designs
22 , 5 Rai Drive
Crestmead QLD
4132
Solar Lighting Designs
Unit 1, 14 Stennett Road
Ingleburn NSW
2565
Solar Lighting Designs
2A Norlin Street,
Kewdale WA,
6105
SLD acknowledges and pays respect to the past, present and emerging Traditional Custodians and Elders of this nation and the continuation of cultural, spiritual and educational practices of Aboriginal and Torres Strait Islander peoples .